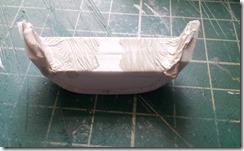
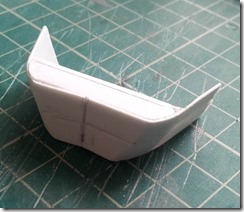
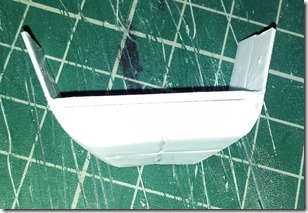
Sunday 18 August 2013

Delays on The Time Traveller

Well after a disastrous attempt to add the raised areas on the round section of the top I have found my self rebuilding the chest piece from scratchSad smile well this as also been delayed slightly by my working on an app for my pc that would help with working out what percentage the size of one part to another was and also calculating what size a part was of another at that percentage.

well on considering that I use and old android tablet on my desk for viewing reference pics and plans I decided that a version of it to run on my tablet would be better, so I have been working on that for a few days and have come up with this

PerCalc For Android

Please feel free to try it out I will have some new pics of the Time Traveller very soon.

Monday 22 July 2013

The Light At The End Of The Tunnel

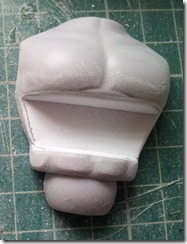
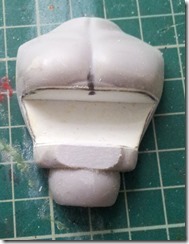
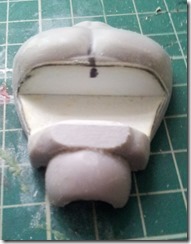
Well I’m Finally making some real Progress on the chest Piece. Looking back at a Pic of the 3.75” figure I noticed that the lower abs area on it was flat so i decided to emulate that look and sand the area flat, at this point I added the last of the strips to the front of the chest piece and sanded it smooth.

05 - Plating finished and sanded35 - Flattened Ab section 1 - WIP36 - Flattened Ab section 2 - WIP

the flattened abs helped enormously with the fit of the front and rear sections of the chest piece to the body, with this sorted I was able to join them together and add the side sections that fill in the gap between the front and rear pieces. next is the filling and sanding

33 - Chest Front Plate Design 5 - WIP34 - Chest Front Plate Design 6 - WIP37 - Chest Front Plate Design 7 - WIP

More Updates soon.

Tuesday 16 July 2013

Chest Pains

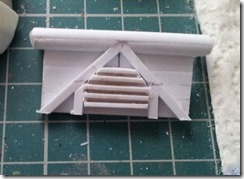
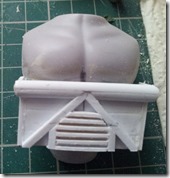
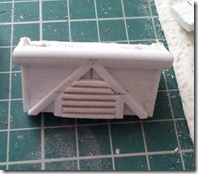
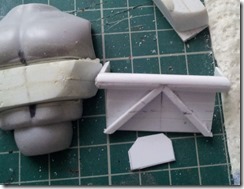
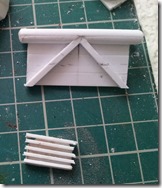
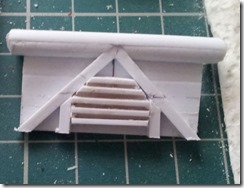
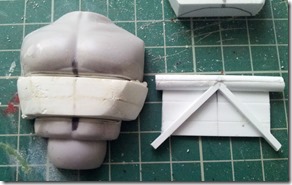
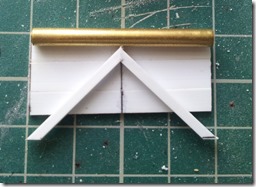
Well I have been able to move along with my chest piece front as I have said I’m trying to design a sort of hybrid chest piece that is reminicesnt of the original ones. well here is the work so far and that grill inlay was a pain to line up and get to look right.

32 - Chest Front Plate Design 2 - WIP32 - Chest Front Plate Design 3 - WIP32 - Chest Front Plate Design 4 - WIP


The grill needs sanding flat with the top if the angle pieces but it is getting there More updates soon

Sunday 7 July 2013

The Chest Piece Moving Along Again

Well I have finally Got Back around to working on the chest piece for a while to get some work done after wrestling with some extension cords and a wall that won’t co-operate with me I have managed to make a start on the front of the chest part so I thought since it had been a while since I have posted any progress I would show you the rough WIP pics that I have of it.

10_G32 - Chest Front Plate Design 1 - WIP


Well there you go Hope you like it any comments would be appreciated and I hope to have some more work done by the end of next week, See you in the Funny Pages

Monday 1 July 2013

Project: Alive

It’s been quiet a while since I have posted any progress pics of my Time Traveller project here but it is still alive, sadly due to shoulder and arm problems and me trying to sort out the First kit for my other site I have been having to leave this to one side for a bit but as the kit is coming to a finish I will be moving on with him soon, thanks for still checking in.

Thursday 6 June 2013

Making the Chest Piece Continued…… (Again!!!!!!!!)

Well realising the lack of dimensions on the feet were causing me issues I realised that I needed to return to the chest Part while I figured out how big the feet need to be so I finalised the two designs I liked and decided to start work on them

30 - Chest Front Plate Design 1 - Rough10_G

31 - Chest Front Plate Design 2 - Roughttnewchestp1


Well that's the rough layout on the two chest parts although deciding to make two front ones adds another back piece to make so more sanding and and shaping for me in my near futureSad smile but I think it will be much easier if I construct these side by side to speed up the construction processSmile I also had a great Idea to use a modified version of the back part of the chest piece to create a robot like design for Mego dollsSmile so stay tuned for a preview of that.

Sunday 2 June 2013

The Next stage

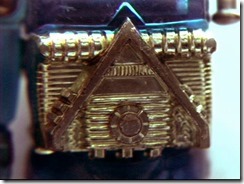
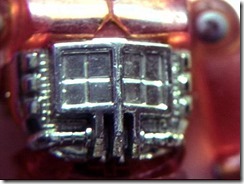
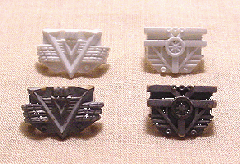
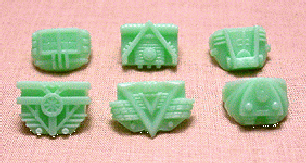
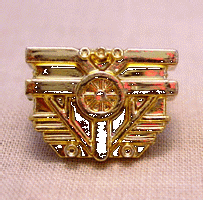
Well with the main part of the chest piece done I decided it was time to start on the front plate of the chest piece I was originally going to create an exact replica of the original ones for this project but looking at how many different ones there were plus the ones from the palisades reissues

chestplatesprotochestp

I decided to make a combined version of the ones I liked the best.

10_G

So I began construction on the plate as far as I was able till I came up with the perfect design.

26 - Chest Piece front assembly 0127 - Chest Piece front assembly 0228 - Wide shot of desk29 - Chest Piece and front  ready to go

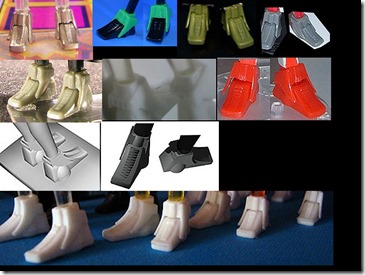
Well with this in the design phase I decided to make some progress with the feet, I remembered these being quite simple but looking at some pics of them they were not as simple as I remembered.

micromanfeet

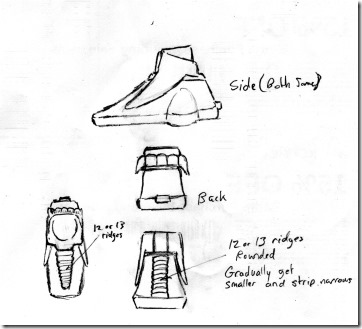
ok well not so bad but it will still be a bit of a challenge to construct these. I had originally intended to make this as a mego doll, but working on some stop motion puppet kit ideas and other parts for that idea  I had considered turning the Micronaut into one of these to help show off the kits. I eventually settled on the notion of doing both versions of this since I had to cast the body in clear resin anywaySmile and looking at the pics there is no left or right foot at this point I would like to thank Starroid Raiders Dagon from the Mego Museum forum for his help with the pics and drawing of the feet which has been a great help.

micromanfoot

Will with this in hand I can begin to work on the feet more posts soon on the progress.

Sunday 26 May 2013

The Oddest Things Pop Into Your Mind…..

For some odd reason the movie the final Programme popped into my head today for those who don’t Know this was a movie made in 1973 featuring Jerry Cornelius Michael Moorcock's version of James Bond and in some respects a predecessor to Austin Powers. It has been many years since I saw this beauty on Satellite TV and just thought I’d post this one to see if anyone else remembered it.


Peter Cushing Century

May 26th 2013 represents the 100th anniversary of peter Cushing’s birthday, so in respect of the great master of Horror movies I decided to waste my day watching Horror Channels Peter Cushing’s  day on offer was:

Frankenstein Created Woman

Blood Beast Terror

I Monster

The Beast Must Die

And to Round it off the Hammer house of Horror Episode

The Silent Scream

well with this mammoth viewing session over with I shall be back on track with the Micronaut Project next week

Happy 30th ROTJ

Well I was shocked when I read that Return of the Jedi was 30 years old mostly as it made me realise How old I was having seen it first time around, but any way just a trip away from the slog of work and my trials and tribulations with the Micronaut project

Revenge of the Jedi Trailer
Another Revenge of The Jedi Trailer
Original Return of the Jedi Trailer 1983
Empire Strikes Back 1980
A new Hope 1977

Thursday 16 May 2013

Getting there

Ok been a few days since I last posted any progress so here is a quick update on the progress.

well I have got the third layer of strip fitted to the model and have filled the front part of the chest piece ready for sanding to eliminate all the gaps where the strip was formed around the compound curve. and then used some squadron putty to fill the gap between the chest piece sides and the body for that “perfect” fit.

21 - Chest Piece with three layes and putty added for final fit22 - Chest Piece with three layes and putty added for final fit side

I left this for a few days to set up fully then removed it from the body to sand it smooth so that I can begin to make progress on the front piece ready for detail

23 - Chest Piece with putty dried ready for sanding24 - Chest Piece with putty dried ready for sanding

ok well that's as far as I have gone at the moment due to needing to progress some other projects hopefully I will get some more pics of the progress on the front piece up on the weekend.

Thursday 9 May 2013

R.I.P. Ray Harryhausen

debutart-joewilson2

Ok I’m Taking A break From posting about the time traveller project to pay tribute to one of the few heroes I have had in my life. His films have inspired me since I saw the original Mighty Joe Young as a kid and of course his Sinbad movies these were the reasons I started sculpting messing about with stop motion and scratch-building stuff for my puppets and what got me to go into the media industry and in some way start the online magazine I published.

Thank you for all the inspiration you have given me you will be missed……… R.I.P Ray Harryhausen

1682927-slide-inline-2-ray-harryhausen-in-memorial-through-the-moviesmighty_joe_young4mighty_joe_young-6ray-harryhausen_1616704cskeletons

If you want to check out his work look here at his site – Ray Harryhausen.com

Wednesday 8 May 2013

Success

Well after a long struggle I managed to get the side “straps” on the chest piece done, well the first of three layers at any rate.  the strips were heated one at a time for several minuets then once soft were bent into shape and quickly glued down with Plastic-Weld glue, I used this particular glue as it dries very quickly and gives a strong bond, the moved on to the next strip until all four were glued into place.

17 - Chest Piece with first layer of Strip18 - Chest Piece with first layer of Strip19 - Chest Piece with first layer of Strip

well as you can see after a bit of sanding to get them to be lined up perfectly and keep the shape tight it has come off ok, now the next stage is too add the next 2 layers and cut the side “straps” to length, the repeat this for the next two chest piecesSad smile, then I can begin on the front parts of them. more progress and posts soon I hope

Tuesday 7 May 2013

Getting Back On Track

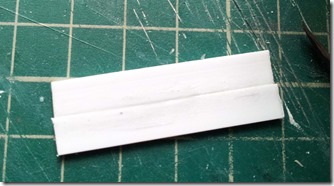
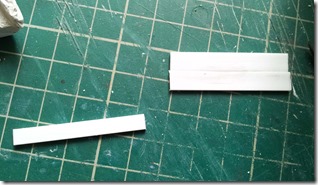
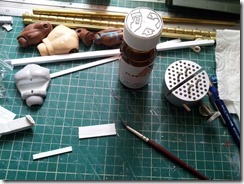
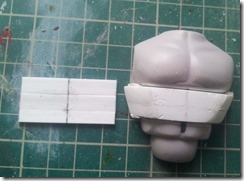
It’s take n me some time to get back on the project and to make a new post so I shall delay no Longer.  Well after the disaster of last week I took a few days to rethink how I was going to make the side panels for the chest piece, the idea I came up with was to add some 1.5mm styrene strip to the back of the piece to give it some extra thickness, then to build the side strips up in 3 layers of 0.8mm styrene strip.  I also opted to split the strips in half as opposed to the original where I laid one long strip across the front
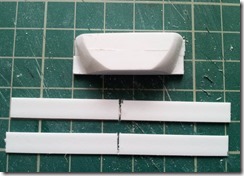
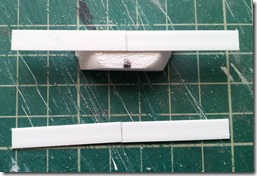
14 - thikness increased side panels shown15 - side strips added to original part


At this point I decided that constructing a couple of secondary chest pieces might be a good Idea, I had originally intended to construct replicas of the versions used on the original Micronauts and on the Palisades reissues but recently I had re-thought that idea and decided to construct a single chest piece with the same styling as the originals a hybrid of the various ones that were available.
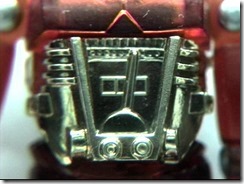
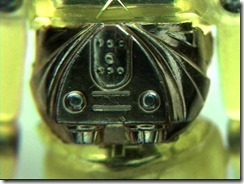
03_G06_G10_G13_Gprotochestpttglowpartsttnewchestp

Originally I had the notion of casting these parts as a conversion kit and came up with the idea of creating a “blank” chest piece to fill the void so that anyone could create their own versions for the figure. I’m not sure if I will still be casting these parts but I decided to create a “blank” anyway just in case or if I wanted to make some different ones myself, I also set about making a third one to create a version of the more rounded one that came with the originals.
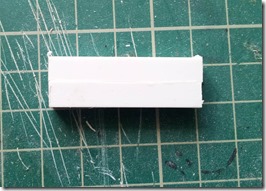
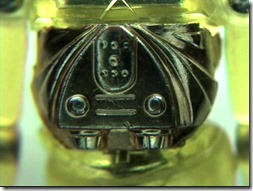
16 - Making a second chest piece to act as a blank06_G

Well that's as far as I have gotten so far with the project, I’m hoping to get some time on it today to get at least one of the layers of styrene strip glued into shape on the back plate of the chest piece.